While writing my app for iOS 4 in XCode 4, I faced this situation of changing orientations from Portrait to landscape and vice-versa. This initially appeared like cake-walk to me, something which could be done with a flip of a button. Obviously I was wrong!
I tried referring to http://stackoverflow.com/questions/475553/how-can-i-test-landscape-view-using-the-iphone-simulator but this thread landed me nowhere, hence I decided to write this tutorial myself.
Assumptions
1) You are using Xcode 4
2) You want to design app in Landscape Mode
3) Your project name is "Something"
Steps
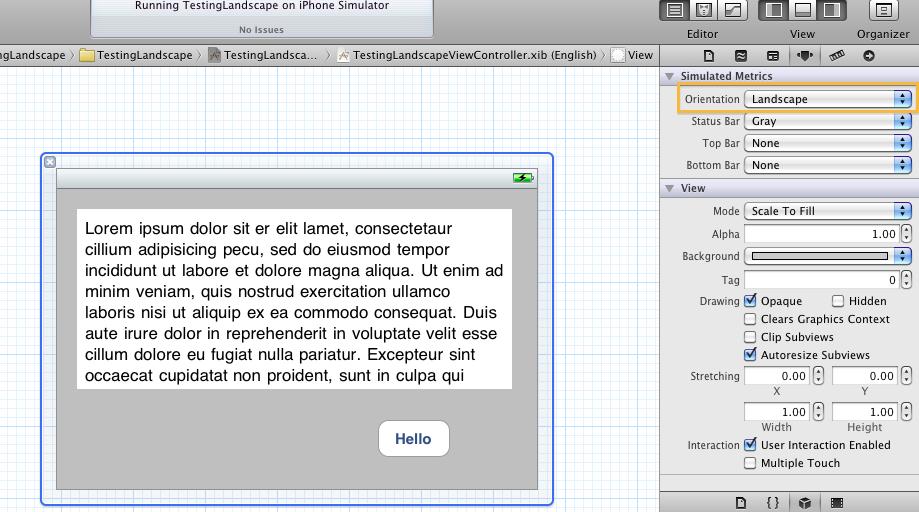
1) In your SomethingAppViewController.xib file, select view (blue outline of barebones iphone screen) and goto Attributes Inspector on the Right. Change Orientation to Landscape.
2) Goto Something-Info.plist inside Supporting Files and add a new row (right click in table and select "add row"). Choose "Initial Interface Orientation" and set its value as "Landscape (left home button)". [optional] If you also want to hide the status bar (where battery, carrier info etc re displayed) from the phone screen, then select "Status bar is initially hidden" as "YES"
3) We are almost there. Now if you'll run the project you will observe that the device is rotated, but the content still remains in portrait mode. You must be asking "Is there a way to rotate the content also?" Ofcourse there is and that is our third and last step. Goto SomethingViewController.m file and locate the function shouldAutorotateToInterfaceOrientation. Change "UIInterfaceOrientationPortrait" to "UIInterfaceOrientationLandscapeLeft".
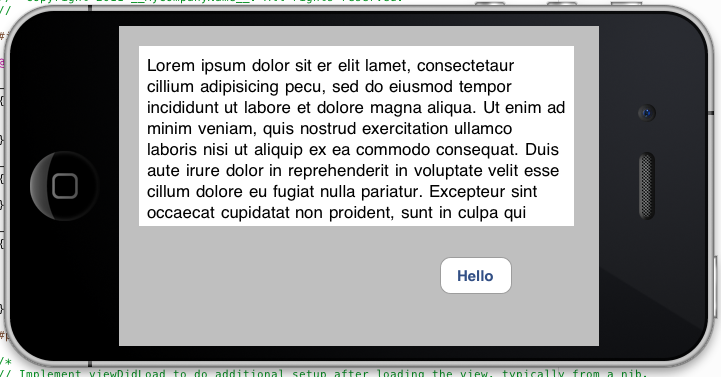
4) Thats it, there is no step 4! You should see the orientation changed successfully!
Let me know in case of any troubles 🙂


Thanks for the detailed explanation. Even I was having the same problem where the device (simulator) was rotating to landscape mode but the contents on the screen were still in portrait mode.